14 November 2026
What to Document on Every Construction Site Visit
Presented by @thebuildrecord
Why a Consistent Capture Routine Matters
Every construction project moves through phases that are easy to blur together once the work starts. A few weeks of framing, then drywall, then finishes, and suddenly it is hard to remember exactly when a wall went up or when the foundation was poured. That is why a structured approach to construction progress capture pays off. By treating each site visit as a data-gathering opportunity, you build a visual record that supports the whole team, from the project manager to the subcontractor who needs to confirm what was done before they start their own stage.
A consistent checklist keeps you from missing the small things that later become big questions. It also makes sure every person on the job speaks the same language when they look at a progress report. The goal is not to take more photos; it is to take the right ones and to record them in a way that connects each image to a specific capture date and building stage. That way, when someone asks "when did that beam go in?" or "was that wall finished before the electrical rough-in?" you have an answer that is backed by organized imagery for each site visit.
Before You Arrive on Site
Preparation makes the actual capture faster and more useful. Know what part of the construction schedule the project is in. Check the previous site visit notes so you can compare the same views. Make sure your gear is charged and that you have a way to tag files with the date and a short note about the area. A little planning at your desk saves time on site and prevents gaps in the visual record.
It also helps to confirm the access point for the day. Some sites have restricted hours or require a safety briefing before you can walk the area. If you are working with a drone service, confirm the flight plan matches the zones that need coverage. The aim is to walk onto site ready to capture, not to spend the first twenty minutes figuring out logistics.
What to Capture: The Core Checklist
The list below covers the main elements that every site visit should include. Adjust the order based on what is most active that day, but try to hit every item before you leave.
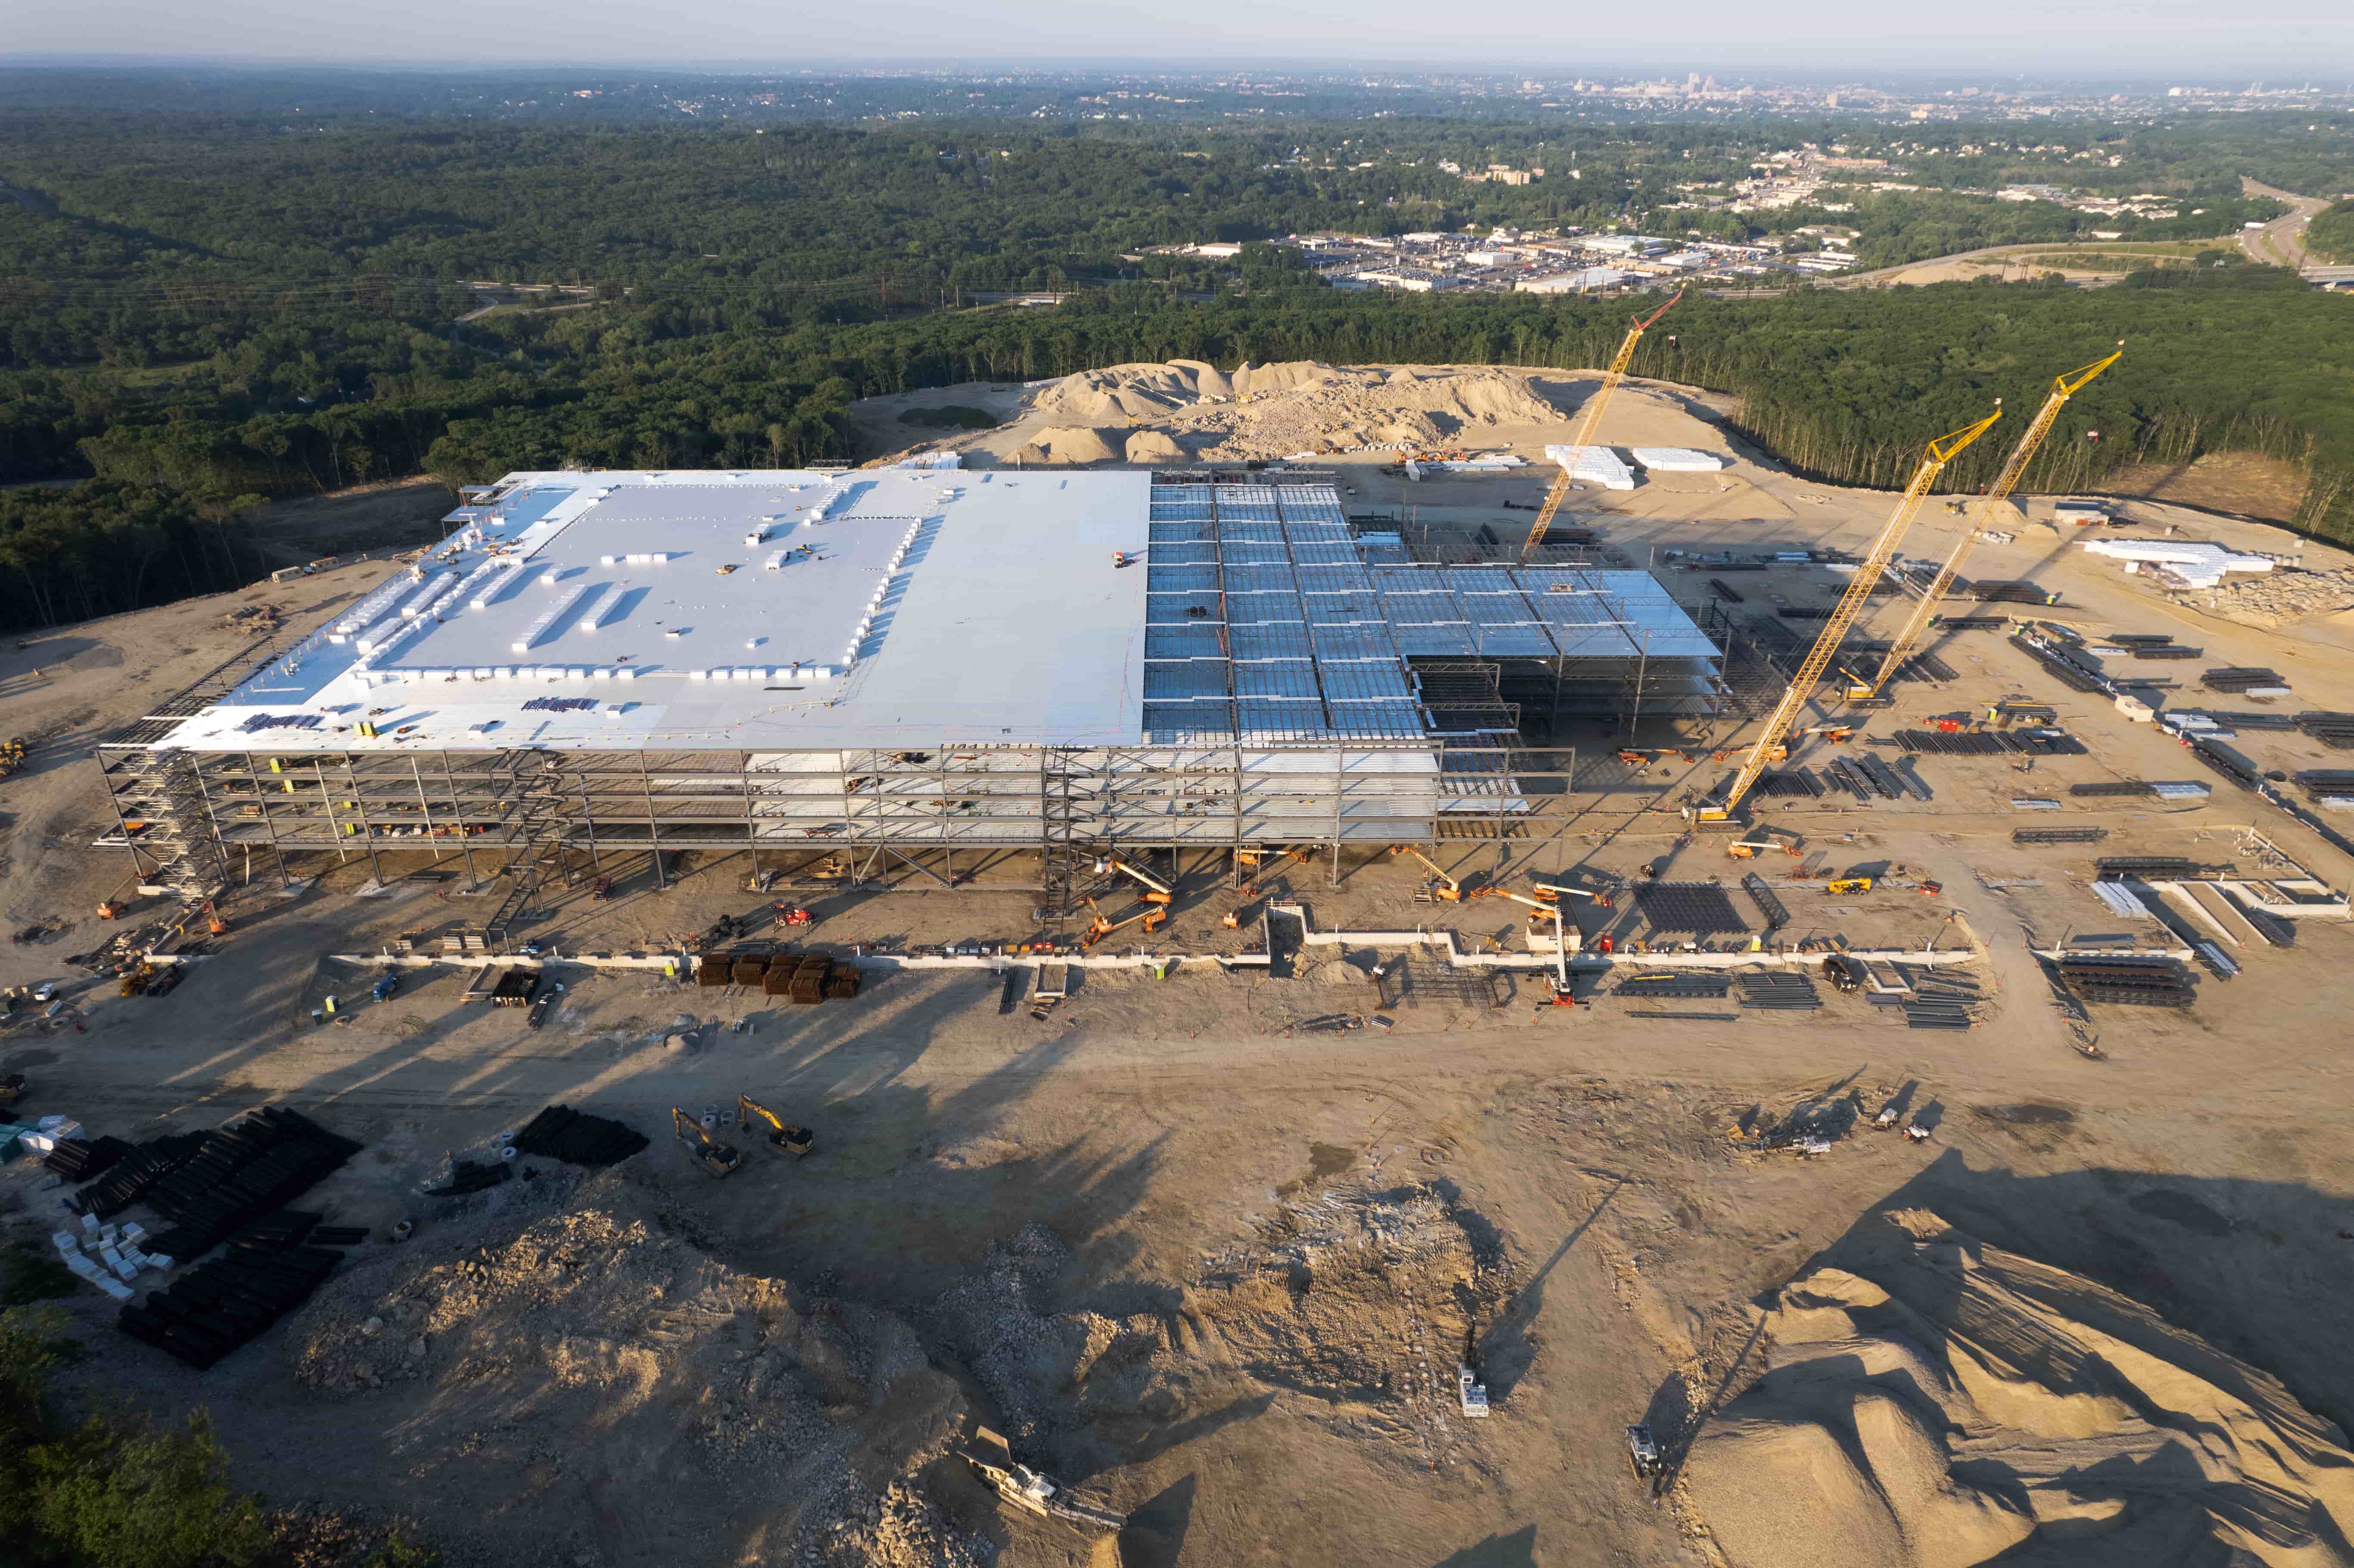
- Overall site overview, A wide shot that shows the whole project footprint. This gives context for where each building or structure sits relative to the lot lines, roads, and neighbouring properties. It also helps track site grading and drainage changes over time.
- Current building stage details, Close-ups of the work in progress, whether that is foundation forms, steel framing, roofing, or interior finishes. Include shots that show the connection between different trades, such as where the plumbing meets the concrete slab.
- Vertical and horizontal reference points, Fixed landmarks like a corner of the foundation, a column, or a survey stake. Photograph these from the same angle each visit so you can compare progress side by side. Consistent reference points make it easy to spot shifts or settling.
- Material deliveries and staging areas, A record of what materials are on site and where they are stored. This helps track lead times and confirms that deliveries match the construction schedule. It also documents site organisation, which can affect safety and workflow.
- Completed milestone markers, Any sign of a finished project milestone, such as a passed inspection sticker, a signed-off concrete pour, or a certificate on a temporary pole. These markers confirm that the work meets code and that the project is moving forward as planned.
Each of these points should be photographed in a way that shows the date and time in the file metadata. If your camera or drone does not embed that automatically, add a note in a logbook or a simple spreadsheet. The combination of a reliable image and a verified capture date is the backbone of a solid progress report.
Organising the Files on Site
Taking the photos is only half the job. The other half is storing them so that anyone on the team can find what they need without digging through folders named "IMG_0423." Set up a folder structure by project milestone and capture date before you start. A typical system uses a top-level folder for the project, then subfolders for each site visit, and inside each visit a set of named subfolders for the areas or trades covered. That way, a superintendent looking for the electrical rough-in photos from last Tuesday can navigate straight to them.
Tagging files with keywords such as "footing pour" or "steel deck" saves time later. If your software supports it, add a short note to each image describing what it shows and why it matters. This metadata turns a raw photo into a usable piece of project documentation. When the whole team adopts the same naming and tagging conventions, the archive becomes a shared reference that reduces misunderstandings about what was actually done on a given day.
A project portal that stores all captures in one place and allows anyone with access to view them by date or stage is ideal. That is where the concept of organized imagery for each site visit becomes a practical tool rather than a nice idea. With a central repository, you can quickly pull up a set of aerial photographs from last month, compare them with today's ground-level shots, and see at a glance whether the work matches the plan.
Common Mistakes to Avoid
Even with a checklist, it is easy to fall into habits that weaken the record. One common error is capturing only the areas that are changing fast and ignoring the ones that look the same. That corner of the site that has not been touched in three weeks may seem unimportant, but if a dispute later arises about site conditions, that quiet corner might hold the answer. Photograph it every visit, even if nothing has changed. The absence of change is itself useful information.
Another mistake is relying on a single angle for each area. A wide shot of the building from the front is good, but it misses details on the side or the roof. Take multiple angles, ground level, elevated, and if possible, a bird's-eye view from a drone. Each perspective reveals something the others miss. The combination of ground and aerial imagery creates a complete visual record that a single lens cannot provide.
Do not forget to document the conditions of the day. A photo of the sky, the ground moisture, and any temporary structures like scaffolding or safety netting adds context. These details matter when someone later asks why a certain pour was delayed or why a material arrived damaged. The weather and site conditions on the capture date are part of the story.
Reviewing and Sharing the Progress Report
Once the files are organised, take a few minutes to review the day's capture before you leave the site. Check that every item on the checklist has a corresponding image. Look for blurry frames, shots that are too dark, or angles that do not show the intended detail. It is much easier to retake a photo while you are still on site than to explain later why that critical beam is a blurry blob.
When the review is done, upload the files to the project portal and notify the relevant people. A short email or message that says "site visit completed for June 12, all photos are in the project folder under the date" keeps everyone informed. If any shots show a potential issue, flag that separately so the project manager can follow up. The progress report is most valuable when it is timely; a week-old set of photos may already be out of date.
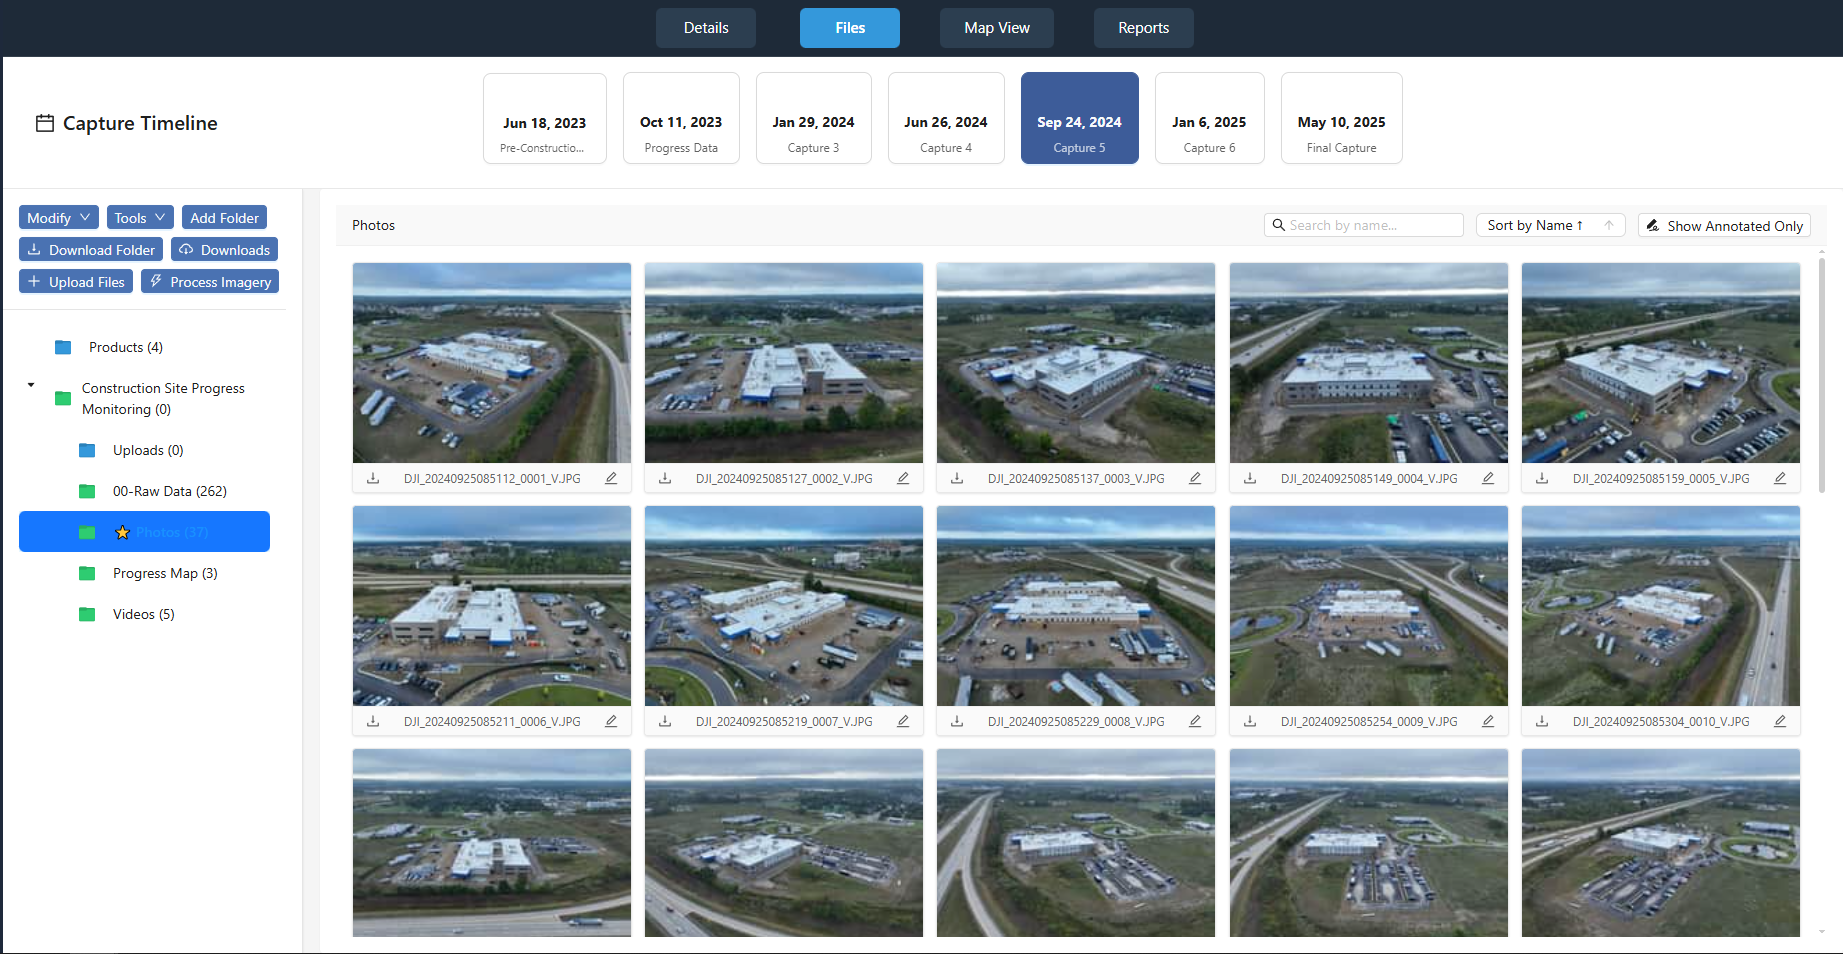
Over time, this routine builds a layered history of the project. Each site visit adds another page to the story, and the organised archive becomes a reference that supports decisions, resolves disputes, and confirms that the project hit its milestones on schedule. The effort you put into a consistent capture process pays back every time someone needs to answer a question about what happened and when.
Making the Checklist Your Own
The checklist above is a starting point. Every project has its own quirks, a tricky foundation, a complex roof system, a tight site with limited access. Tailor the list to match the building stage and the specific risks of the week. For a deep excavation, add a shot of the shoring and any water management. For a high-rise steel frame, capture the connections and the safety lines. The point is to think about what information will matter later and to capture it now, while you have the chance.
If you work with a drone service that provides coordinated captures, coordinate the flight plan with your ground shots so the two sets of images complement each other. The aerial view gives the big picture; the ground shots fill in the details. Together, they form a complete visual record that no single perspective can match. And when those images are stored in a project portal with clear labels and a consistent structure, you have a resource that serves the entire project team from groundbreaking to final inspection.